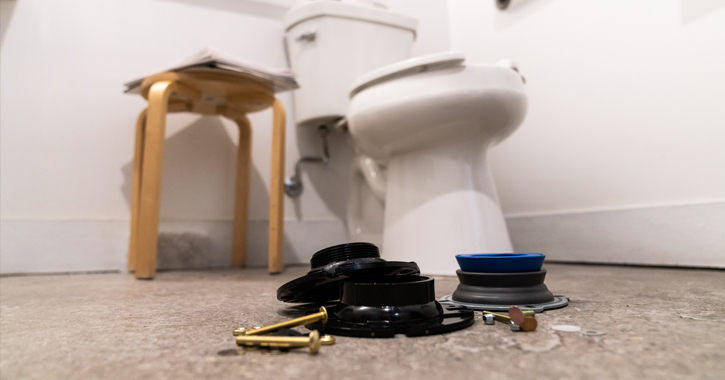
Imagine your visitors complaining of seeing a puddle of water seeping underneath your toilet and that they could no longer bare the foul odor!
Possibly, you were unaware that the toilet flange was faulty, but how would you correct the wrong impression created in the minds of the visitors about your personality?
The above is one of the embarrassing situations caused by a defective or damaged toilet flange.
Before going into the real deal, we'd like you to know what a toilet flange is all about and the warning signs you could expect.
The toilet flange or closet flange can be made of metal, PVC or similar plastic and it is bolted into the floor of the bathroom to connect the bowl of the toilet to the inlet part of the sewer system. It is also sealed with a wax ring to prevent leakage
This component of the toilet is unnoticed because it's hidden, but most times, it is the culprit of embarrassing leaks.
Nevertheless, removing or changing the toilet flange when it is weak or leaky wouldn't be a hustle to a technically savvy person or a newbie plumber. Follow these procedure suggested by experts at Mr. Rooter Plumbing of Youngstown.
Signs of a damaged toilet flange
Though these are typical signs that your toilet flange has become defective, they could also be symptoms of major plumbing problems.
Materials and tools needed for this DIY operation
Shut off the water supply to the toilet by locating the knob and turning it clockwise. Then flush the toilet numerous times to drain all the water in the drain and reservoir.
Step two
Unfasten the nuts
Use the adjustable wrench to remove the bolts and nuts that are holding the toilet to the floor.
Make sure that you spread newspaper over the bathroom floor. It will help not to place the toilet on the bare floor.
Step three
Detach the toilet
If you can't lift the toilet on your own, we suggest getting help from a neighbor or other members of your household.
By now the bolts have been unscrewed, then rock it back and forth to disengage every grip by the flange before placing it on the newspapers.
Step four
Remove the old wax
Use the putty knife to remove the old wax that was used to seal the toilet with the flange. Then remove the screws with your multi-head screwdriver.
Step five
Remove the flange and fit in the new one
Ensure that you have a flange of the same size, and shape with the old one. You can do a little comparison, but if they dont match, get another one from the nearby hardware store.
Fit the new flange with no gaps below and bolt with your screwdriver to the floor
Step six

Replace the toilet
Lift and lower the toilet slowly for it to get back well with the nuts and screws. Tighten the nuts and bolts before reattaching the water supply and flow valves.
Bravo! You have successfully replaced the toilet flange. However, if you can explicitly follow this procedure, call experts at Mr. Rooter Plumbing of Youngstown to help you replace the toilet flange and also work on your plumbing system.