
Emergency Local Plumbers in Youngstown, OH and nearby cities
Emergency Local Plumbers in Youngstown, OH and nearby cities
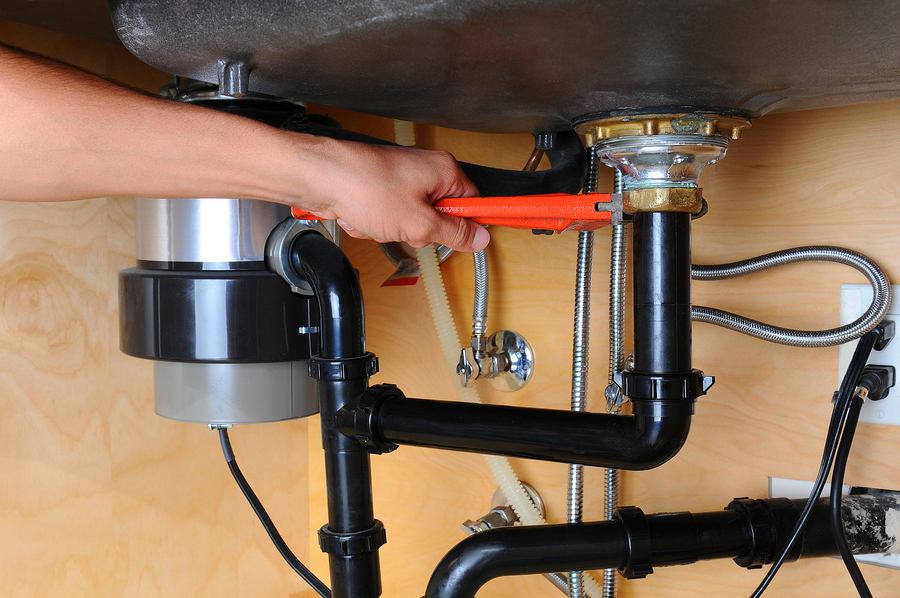
A garbage disposal makes kitchen cleanup easier, but it is also one of the most misunderstood appliances that homeowners try to install on their own. At Mr. Rooter Plumbing, we have seen many projects that begin as a quick do-it-yourself task and end with a service call for repairs. The truth is that a proper garbage disposal installation requires more care and accuracy than most people think. One mistake can lead to leaks, clogs, or electrical hazards. Before you tighten another bolt or plug in your shiny new unit, take a few minutes to find out what goes wrong most frequently.
One of the most common mistakes during a garbage disposal installation is starting the job without checking what is already under the sink. A disposal adds weight and requires the right type of drain connection to work properly. Many homeowners skip the step of inspecting the mounting bracket, outlet position, or the size of the existing pipes before getting started. A standard sink flange or drainpipe might not line up with the new disposal unit, especially if it’s a different brand or horsepower. Without checking clearances and electrical outlets first, you can end up halfway through the job before realizing you need parts that weren’t included in the box. A smart first step is to shut off the power, remove everything under the sink, and measure the space. Make sure the outlet is grounded and nearby, and confirm that your plumbing matches the new setup. A few minutes of planning prevents hours of frustration later.
This one is so common that even experienced DIYers slip up now and then. If your kitchen sink has a dishwasher connected to the same drain, your garbage disposal needs a clear passage for that line. Manufacturers seal that opening with a small knockout plug inside the disposal’s inlet. It must be removed before attaching the dishwasher drain hose. Skip this step, and the dishwasher will have nowhere to send its water. You’ll see backups in the sink and possibly a flooded cabinet. It’s a small plastic disk, but it causes big problems when overlooked. A simple tap with a screwdriver usually removes it, but remember to fish the loose plug out before running the unit. Leaving it inside can damage the blades.
Improper drain alignment is one of the fastest ways to create leaks after a garbage disposal installation. The outlet pipe from the disposal should connect to the drain trap at a slight downward slope. That angle allows food particles and water to flow freely. If the pipes are misaligned or flat, waste collects inside the trap. The result is a slow drain or a full blockage within days. Homeowners also tend to reuse old gaskets or clamps that have worn down over time. These seals might look fine, but once the disposal starts vibrating, they loosen and cause water to seep out. Always replace rubber gaskets and tighten connections evenly, but don’t overtighten. Too much pressure can warp plastic parts and make them leak. It helps to run a flashlight along each joint while testing for leaks. Even a single drop means something’s off. Fixing it right away prevents long-term cabinet damage.
Every plumber in Greenville, PA will tell you this part is where most DIY installations go sideways. A garbage disposal connects to both plumbing and electricity, which means you need to respect safety codes. Using a non-grounded outlet or skipping the power shutoff can create real hazards. Many units require a dedicated circuit to avoid overloading other appliances. Plugging into an outlet that shares power with the dishwasher or microwave can trip breakers when multiple devices run at once. If the disposal must be hardwired, that work should always be done by a professional. Mistakes here can lead to shock, smoke, or motor failure. Before restoring power, double-check that all wires are secured under their screws and the ground wire is properly attached. Water and electricity don’t mix, so never take shortcuts in this step.
Once the installation is complete, the next round of mistakes begins with how people use the disposal. Even a correctly installed unit will fail if it’s fed the wrong materials. Grease, coffee grounds, pasta, fibrous vegetables, and bones are all bad news. They stick, wrap, or grind the blades into jams that strain the motor. Many homeowners pour grease down the drain, thinking hot water will carry it away. What actually happens is it cools inside the pipes and hardens into clogs. The disposal might sound strong, but it’s designed for small scraps, not full plate dumps. A good rule of thumb is to run cold water while using the disposal. It helps solidify any fat particles so they can be chopped up and flushed through. Afterward, keep the water running for several seconds to push everything through the trap. That simple step keeps your sink clear and extends the life of the motor.
After connecting the plumbing and tightening the mounting ring, it’s tempting to call the job done. But skipping the testing phase is another mistake that leads to callbacks and repairs. Every joint, wire, and switch should be tested before the tools go away. Start with a leak test by running water without turning on the disposal. If everything stays dry, switch on the power and listen for grinding or rattling. A wobble usually means the mounting ring isn’t centered or the blades are hitting something inside. Correcting that before you reinstall all the pipes is much easier than tearing it back apart later. Also, check for vibration at the sink flange. Too much shaking indicates that the unit isn’t supported properly or that one of the mounting screws is uneven. Tighten each side in small turns until the movement settles.
Even the best installation won’t last without basic care. Food buildup, scale deposits, and hidden leaks take their toll over time. Every few months, clean the disposal with ice cubes and a small amount of dish soap to break down residue. Avoid chemical drain cleaners because they can corrode internal parts. Run citrus peels through occasionally to freshen the smell and remove minor buildup. Also, look under the sink for dampness or water rings on the cabinet floor. Those are early signs that something’s loose or worn out. With routine maintenance, a garbage disposal can last ten years or more. Without it, you might face replacement within half that time.
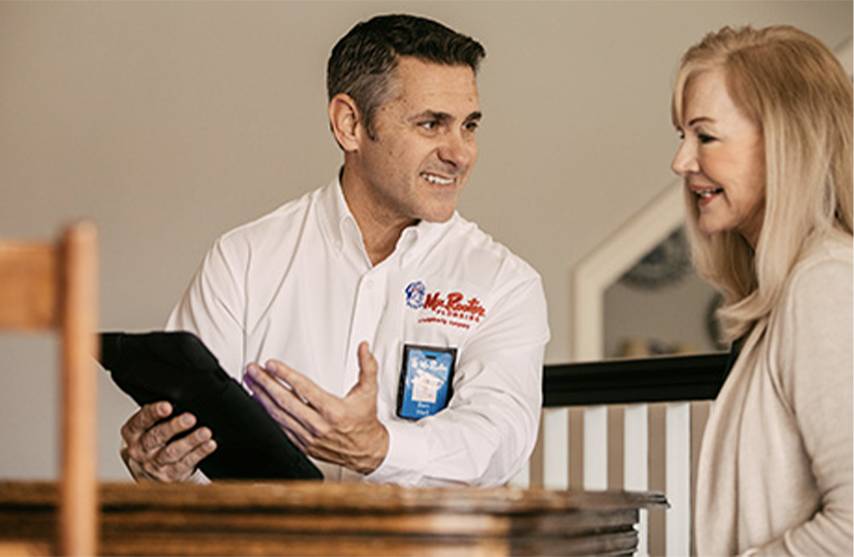
Garbage disposals seem like simple appliances, but their combination of plumbing and electrical work makes them tricky. Hiring a plumber does not mean you are giving up on DIY. It means you are protecting your home from costly problems such as leaks, shocks, and water damage. A professional plumbing repair service completes the work safely and makes sure the sink drains well. Some people try to make small fixes later, but an improper adjustment can cancel the warranty. Getting the installation done right from the start prevents repeat repairs.
If your sink needs an upgrade, call Mr. Rooter Plumbing. We provide professional garbage disposal installation and full plumbing repair service for homeowners who want dependable results. Call us to schedule your installation or service visit.

Improperly installed plumbing can significantly damage your property and expose you to health hazards, which is why it is important to choose a trusted and reliable expert for your Youngstown plumbing service and plumbing repair. Stop searching the internet for plumbing services near…
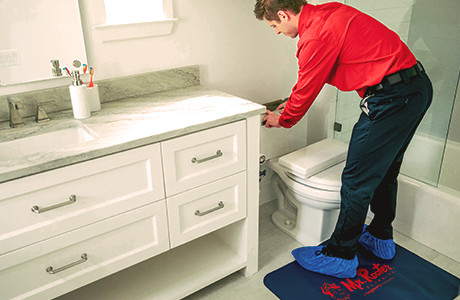
Reliable Emergency Toilet Repair Services Your toilet is arguably the most important fixture in your home or business, protecting you from disease and bacteria by safely disposing human waste. A clogged or leaking toilet will quickly turn a livable home into a stinky…